 Biking
 Login
Login
 More
More
 EN
EN
 Premium
Between Ypres and Yser
automatic translation
64.9 km • Ypres
2.95012 0 0/5

 Addresse starting point (approximate)
Brugstraat 42, 8904 Boesinghe, BE
 signage
The route is fully signposted with nodes.
 Description
From Boezinge, we rode along the Ieperlee canal to Ypres.
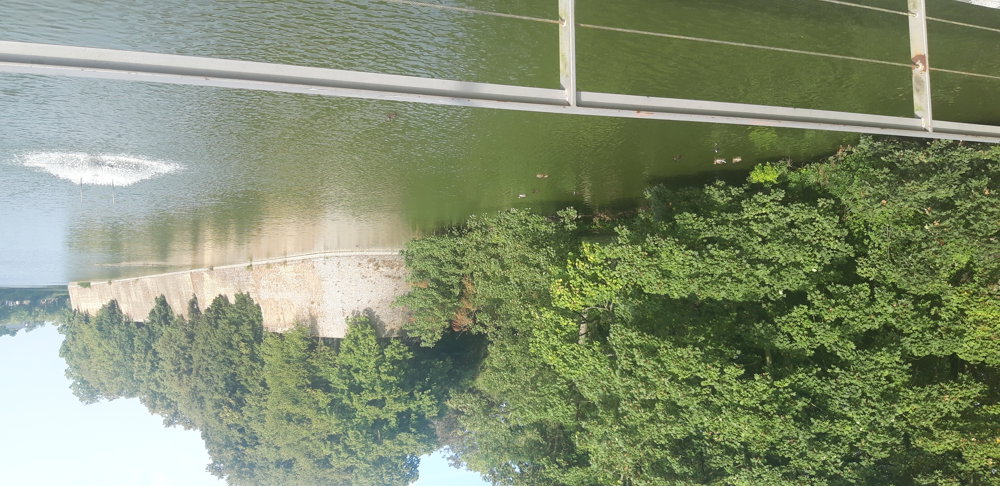
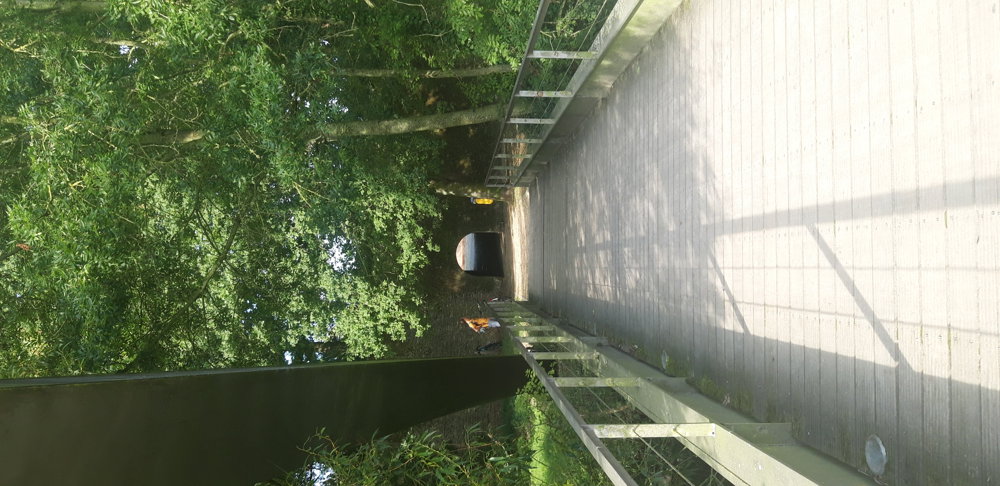
There, we looped around beautiful Ypres, through the city and along the outer ramparts. We then returned to the Vrijbosroute, the old railway bed running from Boezinge to Kortemark. Along the Vrijbosroute, we reached our starting point again.
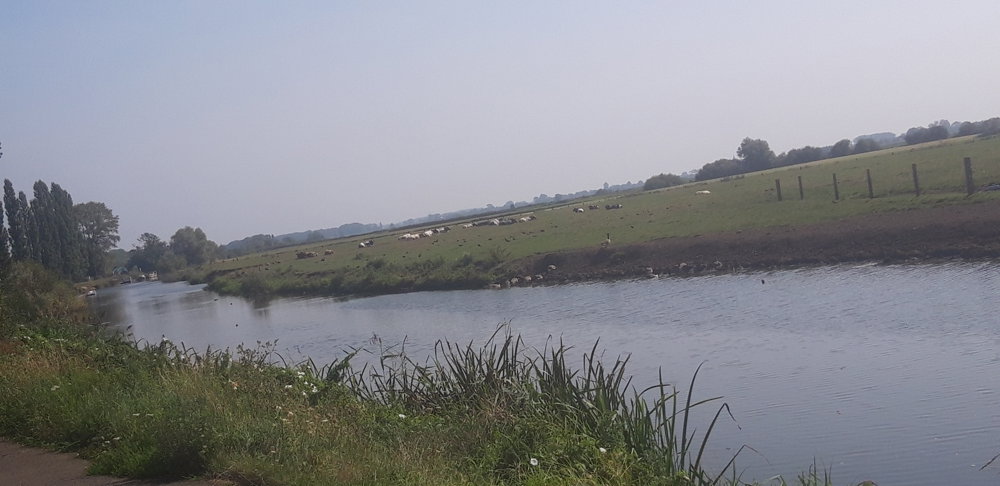
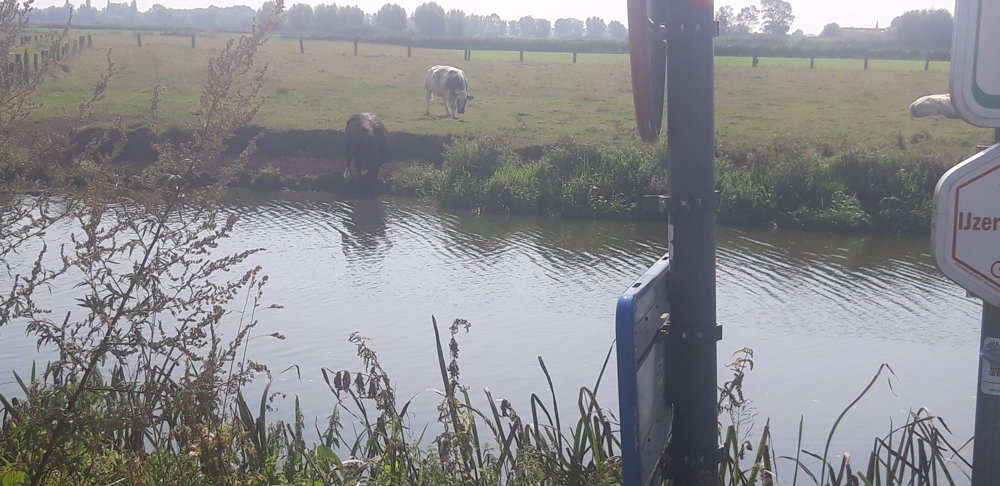
Then we followed the Ieperlee canal towards the Yser. In Bikschote, we diverted and headed inland to Lo-Reninge until we reached the Yser. We followed the Yser for a stretch, crossing the Lovaart in Fintele.
We enjoyed stunning views and passed many charming terraces along the Yser. In Elzendamme, we turned away from the Yser and continued through Oostvleteren and Westvleteren.
We saw the Zonnegloed (animal park) in the distance, rode through the Sint-Sixtus woods, and passed the Sint-Sixtus Abbey with its famous Trappist. A bit further on, we arrived at the Galgenbossen where there are also nice terraces. Along the way, also many war graves. Beautiful route!
automatic translation
 nodes to follow
0 km
0.3 km
2.9 km
4.4 km
5.7 km
5.8 km
5.8 km
7.9 km
8.8 km
9.1 km
9.6 km
9.6 km
9.6 km
9.9 km
10.4 km
10.9 km
11.6 km
14.2 km
14.7 km
17.3 km
18.3 km
19.2 km
19.9 km
20.2 km
22.1 km
23.3 km
23.6 km
24.6 km
25.5 km
26.1 km
27.2 km
28.3 km
29.2 km
30 km
31.4 km
32.9 km
36.1 km
37.5 km
37.6 km
38.4 km
40.9 km
42.3 km
44.7 km
45.4 km
46 km
47 km
48.2 km
49 km
49.2 km
50 km
53.4 km
55.1 km
55.9 km
56.7 km
56.7 km
57.7 km
58.2 km
59.5 km
62.6 km
63.6 km
64.9 km

 Upgrade to Premium Plus
